Happy Cinco de Mayo! Today we are going to revisit one of our favorite crafts, that also happens to be a cocktail, from Ann & Matt’s wedding in 2016. Check out all of the details Ann shared about her super fun DIY element! Thanks Ann!
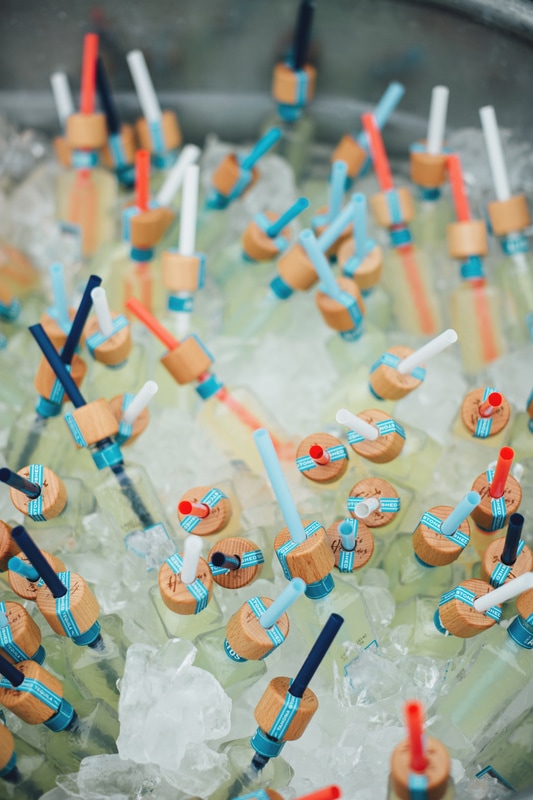
DIY MINI MARGARITAS
Supplies:
- Mini tequila bottles – we used Altos Olmeca, mostly because we liked the look of the bottles, the tequila is decent, and we got a deal on it from a local liquor store. (Note: it’s ALWAYS worth it to ask a local store if they’d be willing to offer wholesale cost if you’re going to buy a couple cases of something.)
- Smoothie/milkshake/bubble tea-size straws. (We used these, plus some randoms I picked up from Ocean State Job Lot.)
- Drill + three bits: one that is the same size as the straws, one that is small/narrow, and one that is medium-sized.
- Vice or something sturdy to hold the lid in place (unless you’re using mini Patron bottles, which have easy-to-drill cork lids)
- Needlenose pliers, paintbrush, and a can of compressed air to clean out the dust from the drilling
- Funnel
- A good margarita recipe (or a Paloma recipe, if you want a pretty blush-pink color!)
- Open up each of the mini bottles, being mindful of whether there is a label wrap that you want to keep. In our case, the lids had a blue label that crossed over the top, and we wanted to keep them for the color. We used a x-acto knife to slice a clean cut on either side so that the label would stay intact.
- Pour the tequila into a sealable bottle, pitcher, or container. (We used these.) Seal it up and set it aside. Give the mini bottles a quick rinse, let them dry, then put them back in their box or a container.
- Put a lid (or as many as can fit) into the vice to hold it tight. Outfit the drill with the smallest bit, and then drill straight down the center. (It’s like a starter hole and makes it a lot easier to drill the bigger ones.) Repeat for all the lids, then move up to the medium-sized bit and do the same step. Finally, finish up with the straw-size bit.
- Once you’ve got the holes made, you’ll want to get the lids clean of any dust or pieces created from the drilling. Use the needlenose pliers and paintbrush to get rid of any visible bits inside and out, then blast it with a shot or two of compressed air.
- Cut the straws to the desired length. (Wear gloves, obviously.) Work the straws into the holes in the lids. You want them to be as tight/flush as possible, so there won’t be any leaking on the day-of.
Note: I DEFINITELY recommend doing these steps earlier, rather than later. It’s easy but time-consuming, and not the sort of thing you’ll want to be burning time on in the week leading up to the event. Just keep the bottles closed up in a container, the lids/straws zipped in a plastic bag, and the tequila sealed in its separate bottle or airtight pitcher.
Make up the margaritas the day before (or day of), pour them back into the bottles using a funnel, and then seal ’em back up with the lids. Keep them refrigerated until you need them.
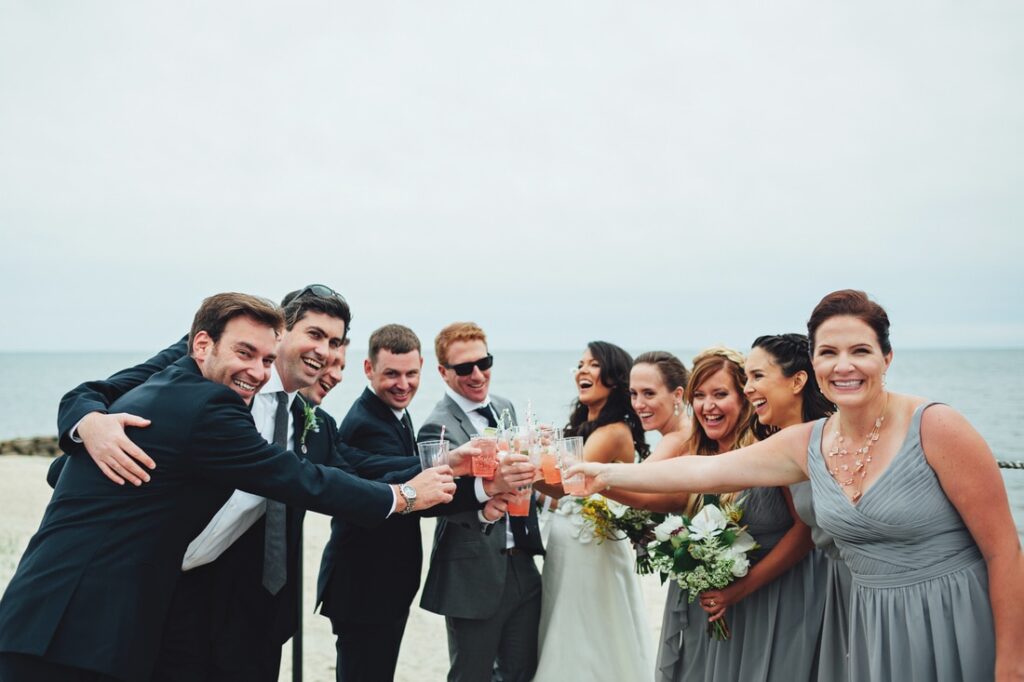
These mini bottles took some work, but they’re the thing people (still) talk about the most. Plus, having them ready to go and off to the side where people could grab them helped alleviate some of the post-ceremony rush to the bar 😉
CHEERS TO ANN & MATT!
Thanks for sharing!

LEAVE A COMMENT
Comments